
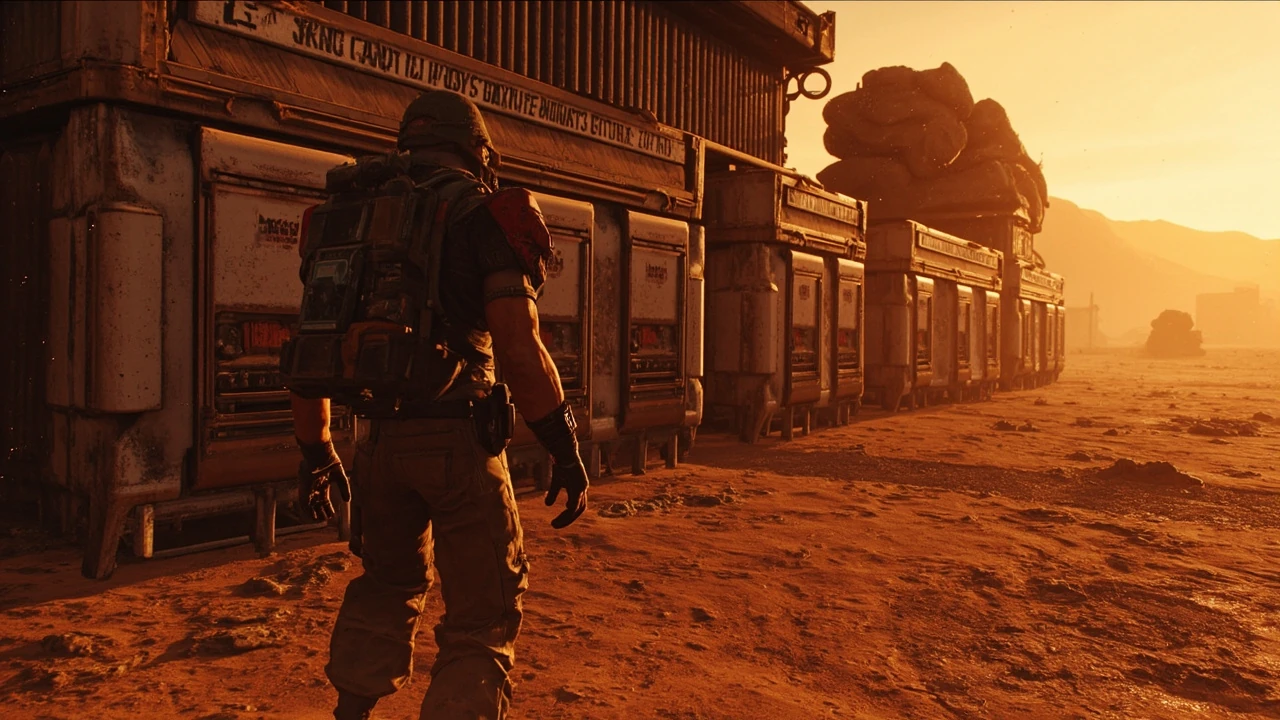
Vend of the Line Borderlands 4: mission scope at a glance
Vend of the Line Borderlands 4 is a compact side mission that leans into one of the franchise’s oldest in-jokes: the vending machine. It is short on screen time, sits in a single outdoor pocket of the open world, and hands out a small but character-locked reward when the encounter ends cleanly. For most players it takes about five minutes from the moment the prompt appears to the moment the quest is turned in, and the only real challenge is paying attention to the trigger area on the way past it.
The mission is built for traversal, not for the campaign. There is no main-story gate, no faction lock, and no prerequisite chain beyond being in the right region of the map. What it does require is a player who is willing to leave the vehicle, walk into the trigger radius, and read the short piece of environmental dialogue that frames the job. Skipping any of those steps is the most common reason the quest does not behave as expected.
This walkthrough sticks to what the verified public source confirms and adds practical notes from how short scripted missions like this tend to play. Where a future patch could shift enemy placement, reward values, or the exact objective text, the page below is treated as a reference, and the in-game ECHO log is treated as the final word.
What the Vend of the Line mission actually is
Vend of the Line is a self-contained side job centered on a damaged vending machine and the small scrap of land around it. The encounter is short by design, but the mission’s structure echoes the larger Borderlands tradition of giving every odd corner of the map a small story. The player arrives, reads a piece of environmental flavor, fights a single scripted wave, and walks away with a reward that only drops from this quest.
Because the mission is short, the bulk of its value is in the details. The flavor text, the ECHO entries, and the unique item all reinforce the franchise’s vending-machine identity without ever slowing the player down. Players who enjoy the side content in Borderlands 4 tend to treat missions like this as palette cleansers between longer main-story chapters, and Vend of the Line fits that role neatly.
The verified walkthrough lists it among the small, repeatable side jobs in its region, and that classification shapes how the mission is played. There is no puzzle layer, no stealth section, and no timed objective. There is only an investigation, a fight, and a reward container that needs to be opened in the right order.
How to start Vend of the Line in Borderlands 4
Vend of the Line is a map-based side mission, so it is not handed out by an NPC standing behind a quest marker. Instead, the trigger sits out in the open world, and the player has to physically walk into it. The two ways the mission usually starts are listed below.
- Walking within interaction range of a specific object that displays a prompt on screen.
- Picking up a radio transmission while on foot or in a vehicle that points toward the relevant POI.
When the prompt is accepted, the mission is logged in the ECHO menu under its full title, which is the easiest way to confirm the trigger actually fired. Players who cancel the prompt by accident can walk back to the same spot and accept it again, because the underlying object stays in the world until the mission is turned in or the player fast travels away for an extended period.
The trigger area is small enough that a fast-moving vehicle can pass straight through it without registering the prompt. If the objective is missing, the first thing to try is fast traveling to the nearest established waypoint, then approaching the site on foot from a different angle. Sprinting past in a Catch-A-Ride is the single most common reason the mission does not start on the first pass.
Quest location and approach route
Vend of the Line takes place in a compact outdoor area, so the route is more about positioning than navigation. A short approach plan helps cut down the time spent looking for the exact spot, especially in regions with a lot of vertical terrain.
- Open the map and pin the side-mission icon rather than driving to a general region.
- Approach from the highest nearby road or ridge so the trigger radius is visible from a distance.
- Dismount any vehicle before crossing into the trigger radius so the on-foot prompt can register.
- Clear the immediate surroundings of enemies before investigating any of the quest objects.
The terrain is straightforward, but the encounter includes a few narrow sight lines that enemies use to punish players who push forward too quickly. A slow, deliberate approach gives the squad time to spot the scripted spawns, claim a few pieces of cover, and decide which target to focus first once the dialogue finishes.
Step-by-step Vend of the Line walkthrough
The mission follows a tight three-act structure: investigate, fight, and collect. The verified walkthrough on the supporting source page documents the objectives in the same order, and the steps below match that flow.
Phase 1: investigate the vending area
The opening objective asks the player to inspect a damaged vending machine and a small set of containers arranged around it. The mission gives the player a short window of relative safety here, but the area is not fully neutral, and a small group of hostiles is scripted to spawn once the player reaches a certain depth into the site.
Players get the cleanest result by sweeping the site from one side to the other rather than looting on the move. The ECHO logs scattered around the vending machine are optional for completion, but they are the main source of the mission’s flavor text and they fill in a small piece of local lore for the surrounding region. Reading them is the difference between finishing the quest and actually engaging with it.
Phase 2: clear the ambush
After the investigation step completes, a wave of enemies attacks the site. This is the only mandatory combat encounter in the mission, and the objective text reads simply as a request to defeat the hostiles. The mission advances on its own once the last enemy falls, so there is no need to interact with anything during the fight.
Because the arena is small, area-of-effect and close-range builds tend to perform better than long-range snipers. Crowd control abilities are also useful, because the scripted wave tends to focus fire on the player who triggered the ambush first. Solo players should be ready to reposition at least once during the wave, since the cover in the area is thin and the spawn points overlap.
Phase 3: collect the reward and turn the quest in
Once the combat phase ends, a loot container spawns at the vending machine itself. The container is the mission reward, and it is the only item required to complete Vend of the Line. After looting it, the player returns to the ECHO menu and turns the quest in, which adds a small amount of experience and cash to the character’s totals and removes the mission from the active log.
Vend of the Line rewards and why they matter
Vend of the Line is a short mission, so the rewards are modest. They are still worth picking up because they fit cleanly into the early-game economy curve and because the cosmetic or weapon item is locked to the quest. The table below summarizes the four confirmed reward streams.
| Reward type | What you receive | Why it matters |
|---|---|---|
| Experience | Small XP payout scaled to the character’s current level | Useful when finishing the mission near the recommended level for the region |
| Cash | Cash stack sized for the current economy tier | Helps fund the next vendor visit without extra grinding |
| Unique item | Quest-specific gear piece from the final container | Often carries a flavor stat or skin tied to the vending lore |
| ECHO log entry | Audio or text log added to the journal | Fills in local lore for the surrounding region |
The unique item is the main reason to play Vend of the Line on a second character. Because the reward is granted only on a per-character basis, a fresh Vault Hunter can use the quest-specific weapon or cosmetic as a stepping stone into the next region without rerolling for an equivalent drop. Players running through the campaign a second time on a different build often pick up Vend of the Line first, simply because the reward is reliable and the time investment is low.
Common problems and how to fix them
Even a short mission like Vend of the Line can break in predictable ways. Most issues fall into a small number of categories that have a consistent fix, and the table below lists the four most common symptoms players report on the verified source page.
| Symptom | Likely cause | Reliable fix |
|---|---|---|
| Quest prompt never appears | Player triggered the site while still in a vehicle | Fast travel to the nearest waypoint and re-approach on foot |
| Objectives freeze at “investigate” | Player left the radius before the scripted spawn | Re-enter the radius from the same access path and clear the wave |
| Reward container missing | Player looted the container before the dialogue finished | Reload the last checkpoint, re-clear the wave, and wait for the dialogue to end |
| Mission stays in the log after completion | Auto-save fired before the final turn-in | Turn the quest in manually from the ECHO log on the next reload |
These patterns are typical for short, scripted side missions in Borderlands 4. A clean manual save taken just before the trigger radius is the safest insurance against any of them, because it gives the player a single rollback point that covers all four of the situations listed above.
Design notes: why short missions like this still earn their place
From a production standpoint, Vend of the Line is a useful case study in how small encounters contribute to a larger open world. The mission does not advance the main campaign, but it reinforces the franchise’s vending-machine identity in a way that no cinematic can. A few design choices make that work.
- The trigger is environmental rather than hub-based, which lets players encounter the mission while exploring rather than treating it as homework.
- The reward is unique to the quest, which protects the economy from inflation and gives completionists a tangible reason to revisit the site.
- The ECHO logs add local flavor without forcing the player to read them, which preserves pacing for players who want the reward only.
These patterns are common across Borderlands 4’s side content. A short, well-paced mission that delivers a small but distinct reward is often more memorable than a longer quest that simply gates the next main story beat, and Vend of the Line is a clear example of that approach.
Tips for a smooth first run
Players running Vend of the Line for the first time can squeeze more value out of the mission with a few small habits. None of these are required, but each one reduces the chance of having to repeat the encounter.
- Bring a weapon with reliable close-range damage so the ambush phase ends quickly.
- Clear the entire site before opening the reward container, because some scripted respawns only appear if the player lingers in the area.
- Save the game manually once the reward container is on the ground but before it is opened.
- Use the mission’s ECHO log as the canonical reference if a future patch changes the on-screen objective text.
Following these steps turns a five-minute mission into a controlled experience and makes the reward feel like a deliberate pickup rather than an afterthought tacked on at the end of a chaotic fight.
How Vend of the Line fits into the broader Borderlands 4 map
Vend of the Line is not a standalone piece of content. It sits in a region that holds several other vending-themed side jobs, and completing it often unlocks fast travel points that make the rest of the area easier to explore. Players who treat it as a hub rather than a one-off encounter tend to find the surrounding side content faster and with less backtracking.
The supporting walkthrough at Game8 keeps the same scope and lists Vend of the Line among the side missions that benefit from being completed in a single sweep. Linking the mission to a wider exploration pass is the most efficient way to clear the entire region without farming travel time, and it is the approach the verified source recommends for players who want to finish the area in one sitting.
When the verified walkthrough may not match your screen
Borderlands 4 is a live game, and the verified source for this walkthrough reflects the page’s last update. There are three common reasons a player might see something different on screen.
- A hotfix changed enemy spawns or reward values without rewriting the quest text.
- The player is running a seasonal or event-modified version of the area with altered loot tables.
- The player picked up a follow-up version of the mission from a later trigger that supersedes the original objectives.
When that happens, the in-game objective text is the most authoritative source because it is generated by the same quest data the engine uses. The walkthrough is a reference, not a contract, and the ECHO log should always win when there is a conflict.
Cross-links to related Borderlands 4 coverage
For broader context on how side missions like Vend of the Line fit into the rest of the game, the [Vend of the Line walkthrough](https://game8.co/games/Borderlands-4/archives/550860) page on the supporting source site keeps its scope narrow and its objective list current. Players who want a wider view of Borderlands 4’s optional content usually start with that kind of region-by-region breakdown before moving on to main-story coverage.
Frequently asked questions
Is Vend of the Line a main story mission or a side mission?
Vend of the Line is a side mission. It does not advance the main Borderlands 4 campaign and can be completed or skipped without affecting the critical path. The reward is unique to the quest, but the experience and cash are sized for an optional job rather than a main chapter.
Where do I start the Vend of the Line mission?
Start by opening the world map and looking for the Vend of the Line icon. Fast travel to the nearest established waypoint, then approach the trigger area on foot. The mission begins when the on-screen prompt is accepted near the damaged vending machine.
Do I need a specific character level to play Vend of the Line?
The verified walkthrough does not list a hard level gate. The mission is designed for the level range of the surrounding region, so a character that has just unlocked the area should be able to clear it without trouble. If the ambush feels punishing, returning a few levels later is the simplest fix.
Can Vend of the Line be replayed for its reward?
The unique reward is granted only once per character. The mission itself can be re-accepted from the same trigger, but the quest-specific item will not drop a second time. Other rewards, such as experience and cash, are paid on each completion.
What happens if I die during the ambush phase?
Players respawn at the last checkpoint or fast travel point, and the encounter restarts from the ambush phase. Because the combat arena is small, a single death usually costs only a few seconds rather than a full replay of the investigation phase.
Does Vend of the Line require a squad, or can it be soloed?
The mission is fully soloable. Coop is supported if a squad wants to clear the ambush faster, but the encounter is not designed to require a full team. A balanced solo build handles the scripted wave without special preparation.
What should I do if the reward container is missing?
Reload the last checkpoint, re-clear the ambush, and wait for the closing dialogue to finish before opening the container. Looting the container before the dialogue ends is the most common reason it appears to be missing on the first attempt.
Will Vend of the Line change after future Borderlands 4 patches?
It is possible. Small side missions are often adjusted in balance passes, and live updates can change enemy spawns, reward values, or trigger logic without renaming the quest. Check the in-game objective text after each patch and use the walkthrough as a reference rather than a live contract.

Leave a Reply